Linen Skirt

Hey guys!

I’m back with another tutorial! I am once again so proud of how this skirt turned out, but as usual I made some mistakes. Here’s what went wrong:

  • I didn’t leave enough room for my hips. I used a skirt I liked the fit of to “draft” this pattern, but because I copied the cut of that skirt exactly, so I have to pull it over my head. But that’s okay it’s just as cute.
  • I used too little seam allowance when I sewed the pockets. So putting my hands in the pockets is a little difficult.

I learned so many things on this project, keep scrolling to see how I made the skirt above, and for outfit details. 🙃


What you will need:

  • A skirt you like the fit of
  • 2 yards of fabric for the skirt, and half a yard for the pockets. (I used a linen cotton blend from fancytigercrafts.com).
  • Scissors
  • Tailors chalk or a fabric marker
  • Elastic – measure your waist plus one inch (for seam allowance) to determine how long your elastic will be. Mine was 31 inches.
  • Pins
  • Safety pins

Total Cost: $23.00


Step One:


Fold your fabric in half, and lay your skirt over the fabric. Then trace around your skirt. I traced around the skirt exactly, but you will want to trace a box around the skirt, making sure to leave room for seam allowance. Once you insert the elastic it will make the skirt fitted to your waist. Most importantly, it will fit around your hips. Next time I will measure the length of my hips, and then cut out a box with the measurements (width of hips x desired length) of skirt. That will give you a skirt that pulls over your hips, but has a lot of body. 

Step Two:


Cut out your skirt. So at this point my skirt will look different then yours, but the steps will be the same.

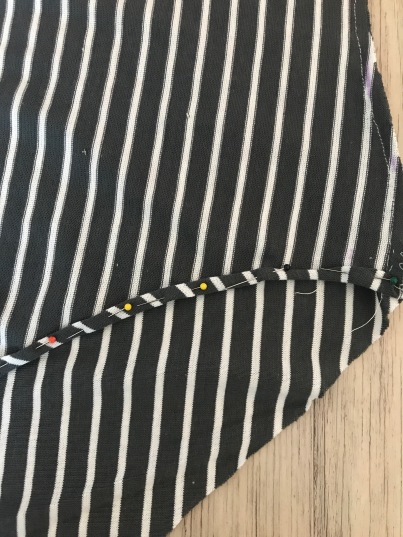
Step Three (Optional):

Cut out the pockets and pin them to your skirt. I used a tutorial from YouTube to insert my pockets, since it was my first time. Instructions for inserting pockets are much easier to watch than to write, so I haven’t included a step by step, but the pictures below give you an idea.

Step Four:

Lay the front and the back of your skirt right sides together, and pin. Take your “skirt” to the sewing machine and stitch down the sides of your skirt, about 5/8 of an inch from the edge. Make sure once you get to the pockets you pivot and sew around them, otherwise they will be useless.
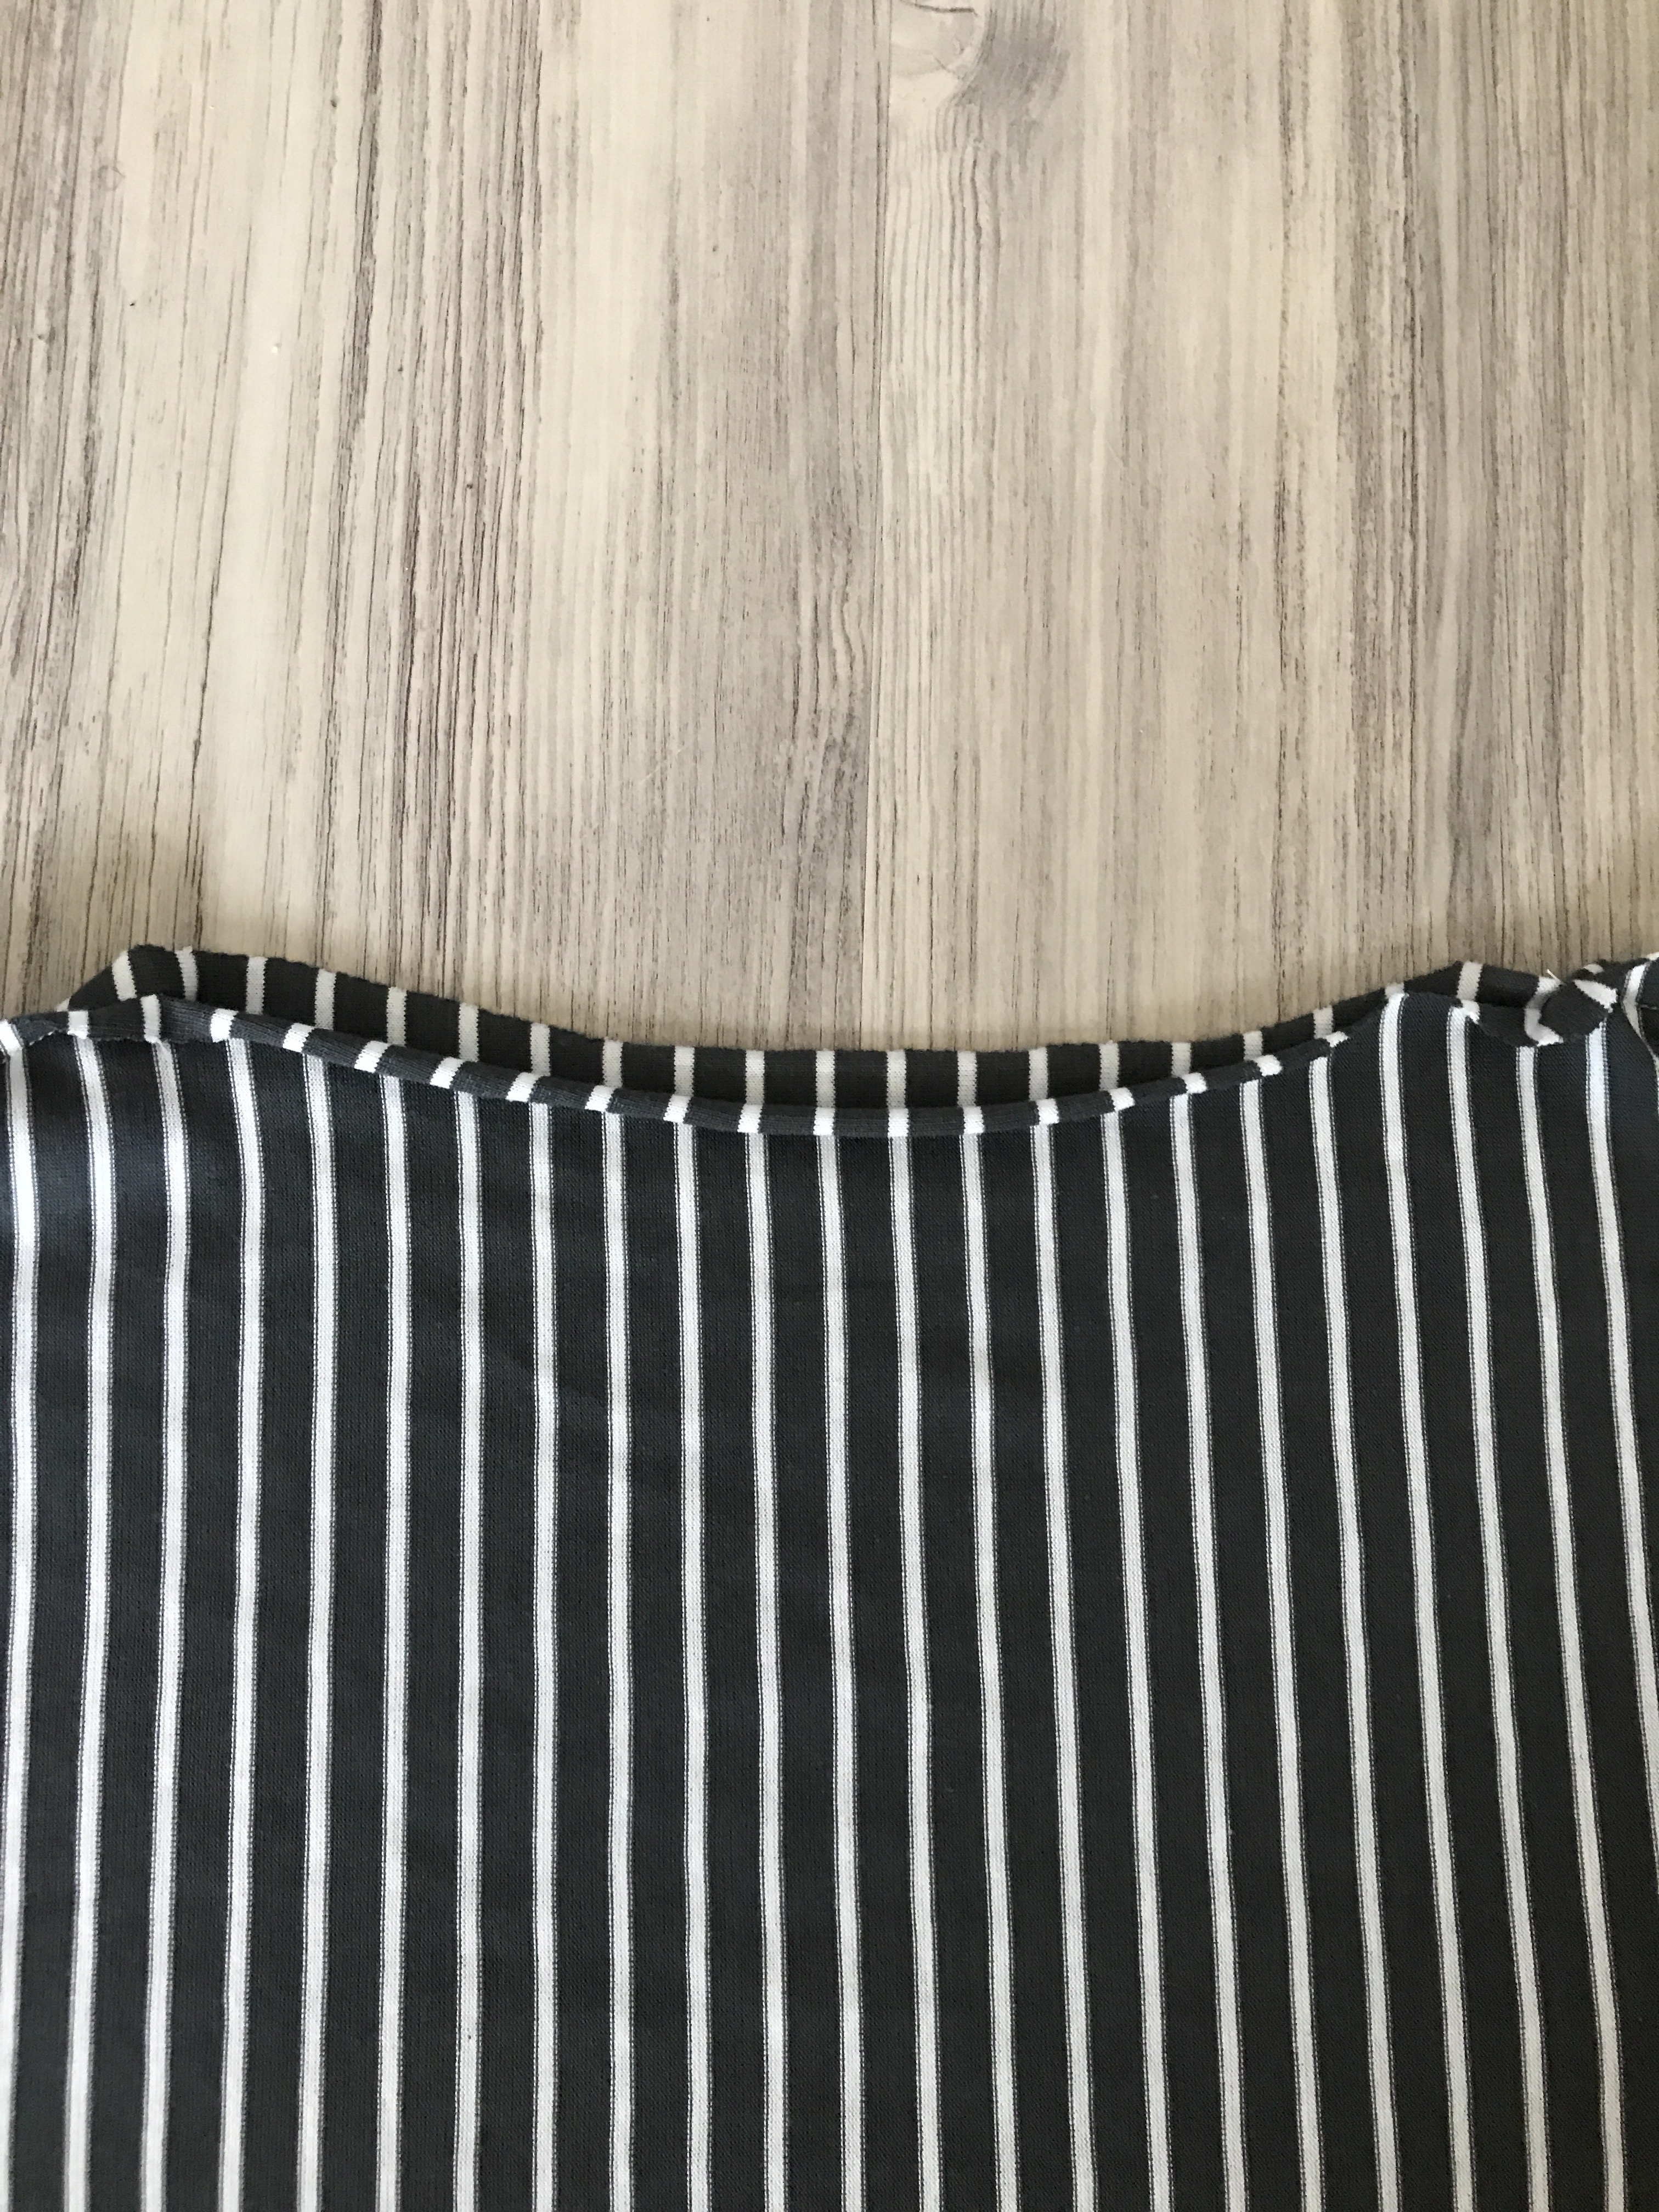
Step Five:

I created my waistband using my skirt. So I rolled the top of my skirt down twice and ironed it. At this point I knew I wanted to add a button hole to insert the elastic. So I determined which side of my fabric would face the inside of my skirt, and I stitched my button hole first. Then, I sewed the waistband to the skirt. Here is the final result:


Step Six:

Insert your elastic. Place your safety pin through one end of your elastic, then thread it all the way through the button hole in your skirt, pulling as you go. Once almost all the elastic is in the skirt, except the ends, take out your safety pin, pin the elastic right sides together, with some seam allowance and then sew a zigzag stitch straight down.


Step Seven:

Now it was time to hem my skirt, and finish any raw edges. To hem I rolled the bottom of my skirt twice, pinned it, and pressed it. Then I finished it off with a straight stitch all the way around. I then finished off any raw edges I had on the inside of the skirt, and just like that we’re done.

Thats it! The skirt is finished, I am so proud of how this project came out, and have already worn this skirt several times. This is definetely a wardrobe staple for me.

If you like the outfit, but you would rather buy, below are some similar items:

  • Top similar here or tutorial here – (affiliate link)
  • Skirt similar here – (affiliate link)
  • Shoes JustFab, similar here and here – (affiliate link)


DIY: Striped Bodysuit


Hi Guys!

What I’m wearing:

  • Bodysuit DIY
  • Jeans H&M (affiliate link)
  • Shoes Converse (affiliate link)
  • Bag Lonchamp thrift find; similar here. (affiliate link)

In the past, I would have allowed the perfectionist in me to keep me from posting this tutorial, because I made so many mistakes along the way. Including, but not limited to:

  • cutting a small hole in one of my sleeves, which then turned into a rather large hole.
  • making the sleeves too small and having to add more sleeves
  • having to double hem the bottom of the bodysuit because I cut a hole in the fabric (the scissors would not let me win).
  • using the wrong stitch for the side seams, causing them to pop.

One of the things I love about sewing though, is that you don’t have to be perfect all the time. I am allowing myself to make mistakes, and learning how to roll with the punches. I am overall very satisfied with how this turned out, and I am so excited to share it with you. So if your a beginner, like me, don’t be so hard on yourself, you will get better, just give it time.

Keep reading to see how I made the bodysuit pictured above, and I’ll talk to you guys again soon!


What you will need:

  • Fabric – Preferably a knit. I was able to use one yard because my fabric was pretty long, but you may need more than that.
  • A tshirt that you like the fit of
  • A one piece swimming suit
  • Fabric marker or chalk
  • Pins
  • Scissors
  • Tape measurer (not pictured)
  • Snaps (not pictured)
  • Thread (not pictured)
  • Needle (not pictured)
  • Sewing machine

Step One: 


Place your swimming suit inside your tshirt making sure everything lines up. Then lay that on top of your fabric. I like to cut out both my front and back piece at once, so I folded my fabric in half.

Step Two:

Trace around your tshirt/swimsuit, making sure to leave extra room for seam allowance.

The following step is very important. ⬇️

Unfortunately for me, the tshirt I traced had more stretch then the knit I was using. So once I cut out my pieces, I realized that the sleeves were going to be two small. FAIL. So when you are tracing your body suit and the stretch of the fabrics are not very similar or identical, make sure to give yourself plenty of extra “space” for your arms. This may require that you flare out the bottom of the sleeve a bit. However, because I didn’t make sure of this before I cut. I ended up having to add sleeves.

This is a very hard fabric to photograph, so it’s a bit difficult for you to see the lines I traced. 

Step Three:

Pin your fabric in place, so that when you are cutting, the fabric doesn’t shift. Then cut out your bodysuit pieces.


When you are finished cutting, your bodysuit should look something like the photo above. It’s starting to come together! If you have done the tracing and cutting correctly, the rest of this will be pretty straight forward, and you are one step closer to a completed bodysuit.

Step Four:

Lay your swimsuit back on top of your fabric. Make sure that it is symmetrical, so that everything fits correctly. I decided to cut the front and back pieces differently. If you want the front and back layer to look exactly the same, just trace the front of the swimsuit, and cut through both pieces.

If not, lay the front of your swimming suit on top of your fabric, lift the back of the swimming suit out of the way and trace. Do the same thing with the back piece of your bodysuit. Lay the back side of the swimming suit on top of the back piece of the bodysuit and trace. Then I cut along the traced lines. It should look like this, once completed.

Step Five:

Sew the pieces together. If you are using a sewing machine like me, it’s best to use a stretch stich that shows well on the right side of your fabric. Although a zipper stich would prevent the fabric from fraying, and the thread from snapping, it will not make a good forward facing seam. It is very important that you use a stretch stitch or your thread will break from the tension. I used an overcast stitch.

Make sure the right sides of your fabric are together, meaning the right side of the back piece and the right side of the front piece are touching, before you stich. If they are not already pinned together, do that now. Then stich the front piece to the back piece.

Step Six:

Try on your bodysuit, to make sure everything fits correctly, and to make any needed adjustments.

Step Seven:

img_1390.jpg

Zigzag stick around the edges of the sleeves, then fold it back to your desired length and press it. Make sure both of the sleeves are the same length before you finish the sleeve. Since my sleeves were wide enough I used a straight stitch. If you still need your sleeves to stretch, use a stretch stich. Go to your sewing machine and sew around the bottom of each sleeve. When your finished, it should look like the picture below.

Step Eight:

I really loved the way this neckline looked when I tried on my bodysuit. So I decided to just go with the natural fold of the fabric.

Roll your fabric and pin it as pictured below. Then sew a stretch stitch all the way around the neck opening.

img_1377

Step Nine:

img_1354

Roll and pin the edges, as seen below. Do this for both sides of the fabric all the way around. If you want to make sure your roll stays in place, press your hem before sewing it. If you have the colored pins like me, be careful, the iron will melt them.

After sewing a straight stitch along the bottom it will look similar to this:
img_1358

Roll up the bottom of your fabric just like you did the sides, making sure there are no raw edges left out. Do this for both the front and the back of the bodysuit. Sew a straight stitch right across.

Step Ten:

Measure where on your body suit you want to place your snaps. Mark where each one should go with your fabric marker or chalk, and hand sew the snaps in place.

Mark sure to zipper stitch any raw edges left out, and that’s it, your bodysuit is finished. You deserve a high five 🤚🏽.


I’d love to see your bodysuit. Instagram? Tag me @londyntown.

Starting Over

Hey Guys!

I’m back. Yes I know, it has been a long time. You may be wondering why my site has completely changed. Well, I trully enjoy fashion and creating outfits, but its not what I love. My favorite hobby, is sewing. I enjoy the satisfaction of creating something with my own hands. That is what I want to blog about. So, I am starting over. I cannot promise that I will post all the time because, life. But I can promise that I will be documenting the things I make, and sharing those things with you. I hope you enjoy, and welcome back. 🙂